Scheduling a session
A contact is automatically created if you invite someone to a session. For more information, please see one of these support articles:
Through the Contacts page
Create a new contact for yourself
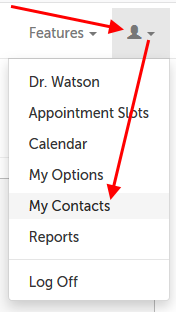
1. Click on the profile icon in the upper right-hand corner, and select "My Contacts" from the drop-down menu.
2. Use the "Create New Contact" button at the top or bottom of the page.

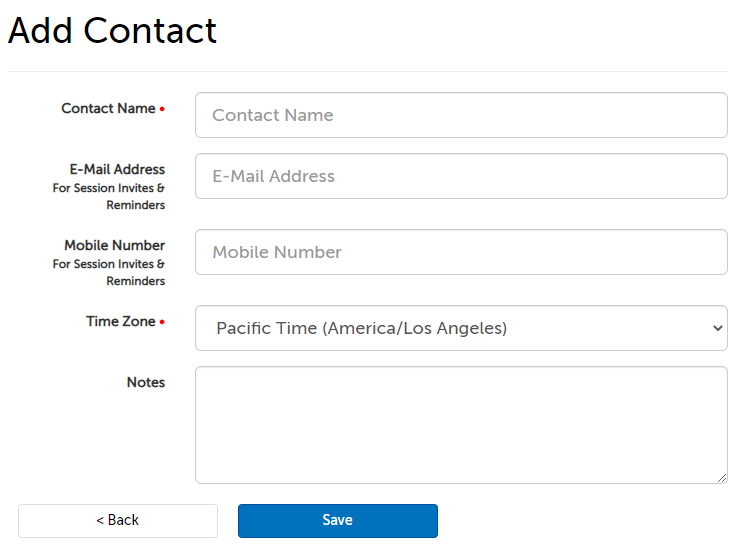
3. Fill out the fields as applicable.
- Contact Name: Add the name you will use to refer to this contact by. This name will appear on your dashboard in the session panel, the video window (if names are used), and your session usage report. There is a 2 character minimum.
- E-Mail Address: e-mail address where we can send invites, reminders, and cancellations for sessions (if this contact method is selected when scheduling a session) and notifications if using Clinical Chat.
- Mobile Number: US or Canadian cell phone number where we can send invites, reminders, and cancellations (if this contact method is selected when scheduling a session) and notifications if using Clinical Chat.
- Time Zone: Choose the time zone your participant is in--this determines the time and date that will be used for their invitation and reminder e-mails or texts (this defaults to the time zone on your account).
- Notes: Notes for yourself and any other organization user with access to this contact record. (This note is not visible to the contact.)
Use the "Save" button when finished.
Create a new contact for a host in your organization
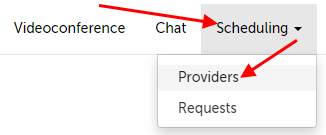
1. Click on the "Scheduling" tab at the top of the page.
- If your organization is using Virtual Clinic and has designated you to manage appointment requests, you'll see a dropdown. Select "Providers" to get to the next step.
2. Click the "Contacts" button next to the host you want to create a contact for.

3. On the next page, click the "Create New Contact" button.
4. Fill out the fields as applicable.
- Contact Name: Add the name you will use to refer to this contact by. This name will appear on your dashboard in the session panel, the video window (if names are used), and your session usage report. There is a 2 character minimum.
- E-Mail Address: e-mail address where we can send invites, reminders, and cancellations for sessions (if this contact method is selected when scheduling a session) and notifications if using Clinical Chat.
- Mobile Number: US or Canadian cell phone number where we can send invites, reminders, and cancellations (if this contact method is selected when scheduling a session) and notifications if using Clinical Chat.
- Time Zone: Choose the time zone your participant is in--this determines the time and date that will be used for their invitation and reminder e-mails or texts (this defaults to the time zone on your account).
- Notes: Notes for yourself and any other organization user with access to this contact record. (This note is not visible to the contact.)
Use the "Save" button when finished.
This article was last reviewed by our Support team on January 6, 2023.