Session does not require credit card payment
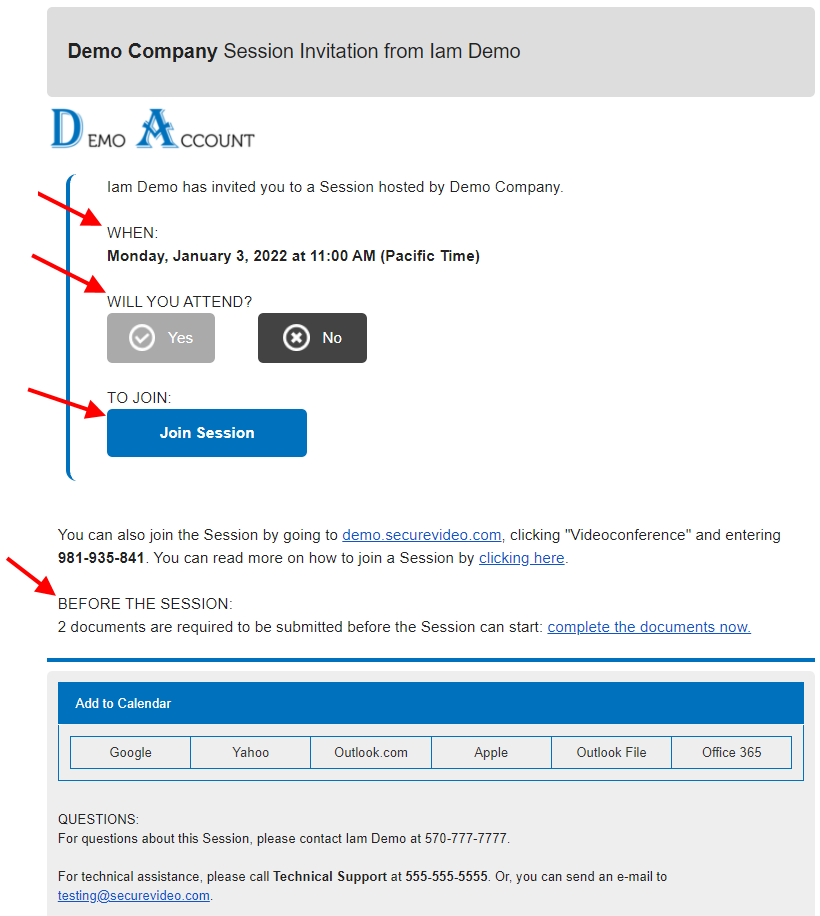
1. You, the session invitee, will receive an e-mail invitation that includes
- Time and date of the session
- Two RSVP options: Yes or No (will notify your host)
- Join Session link
- If e-documents are assigned, the number of assigned e-documents
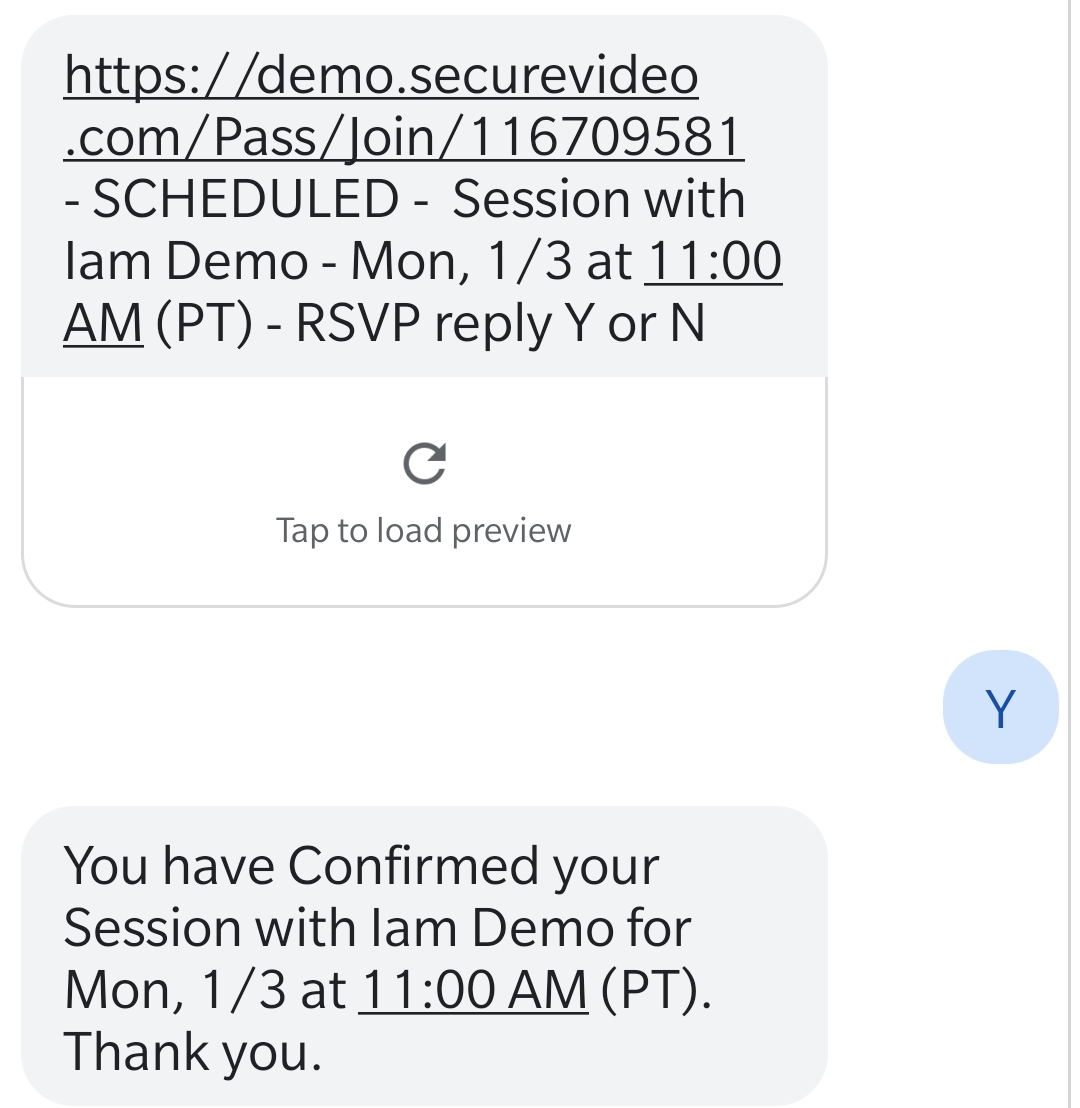
Or a text message:
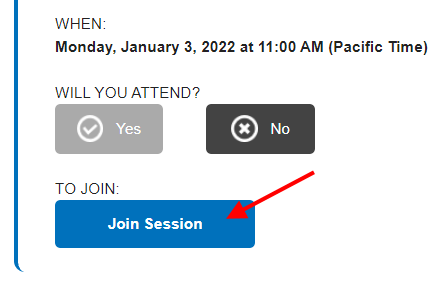
2. At the time of your session, use Join Session button in the e-mail.
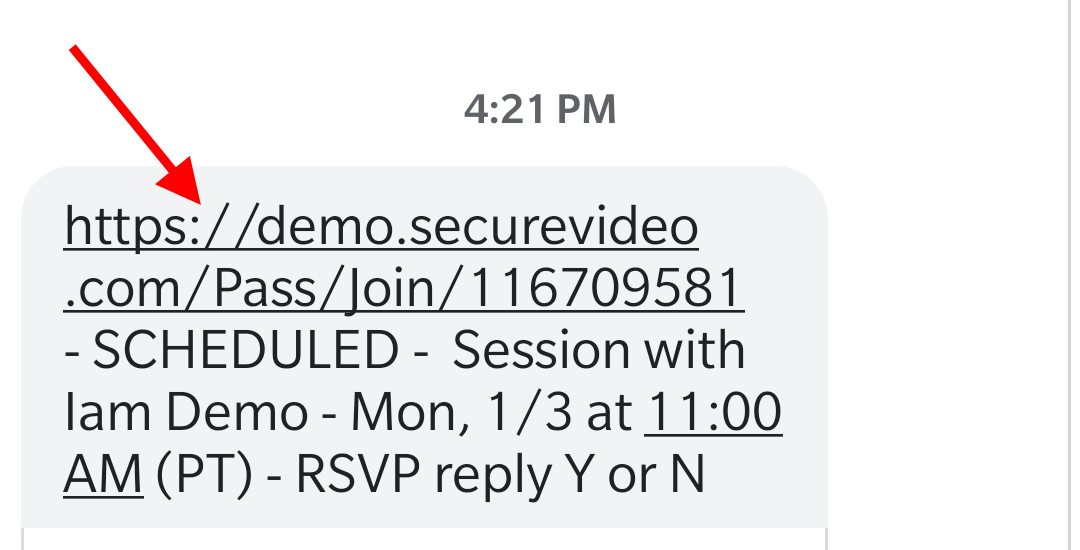
Or the link in the text message:
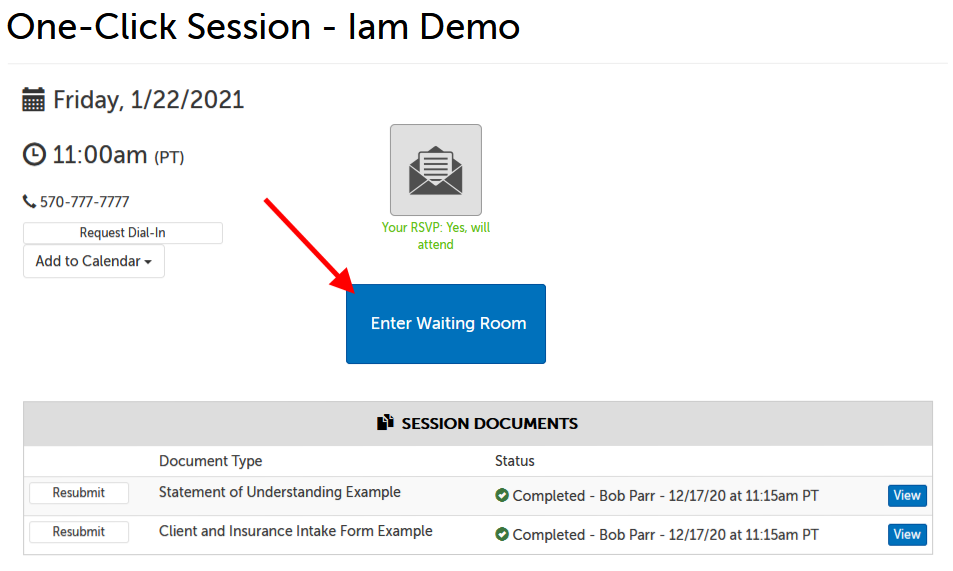
3. On the browser page that opens, use the "Enter Waiting Room" button.
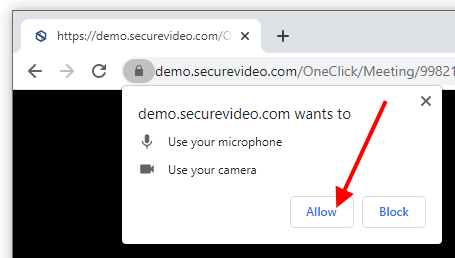
4. If this will be the first time you are connecting (or you have not previously saved permission), you will be prompted to give permission for One-Click to access your camera and microphone.
Examples of permission prompts for
- Chrome
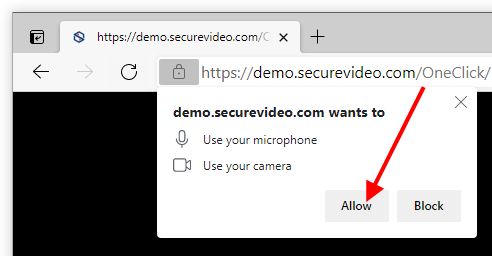
- Edge:
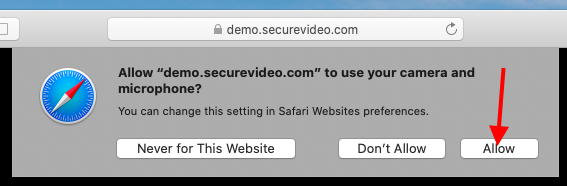
- Safari:
- Firefox:
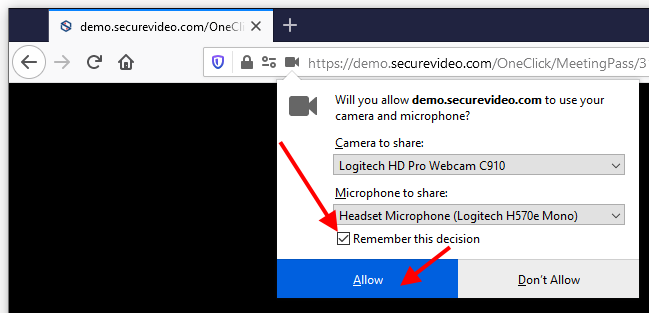
NOTE: If you accidentally denied permission, you will have to change your settings to grant permission before you will be able to enter the session. Please see the support article:
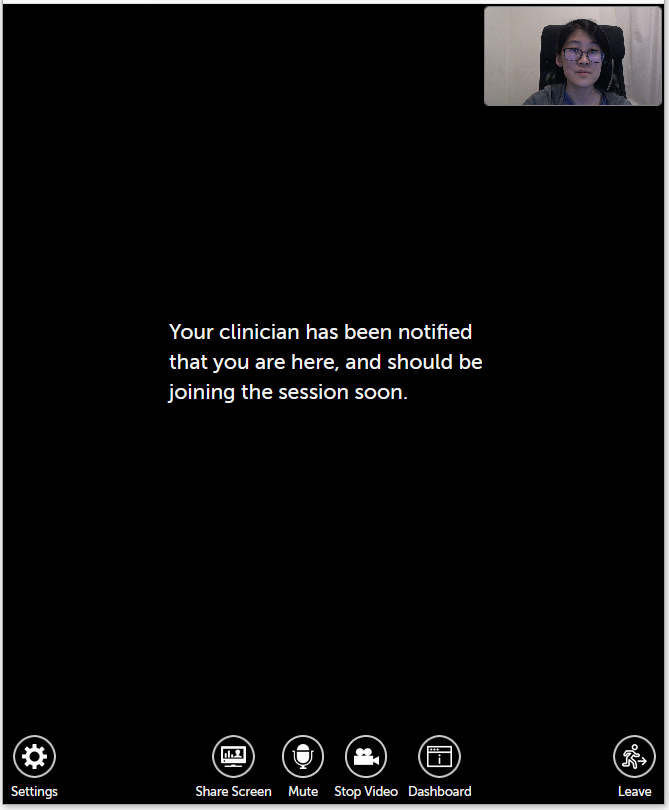
5. Once successful, you will see yourself in the upper right hand corner, and may see a waiting message from your host. Please wait for them to join you, and do not leave this page.
You will see some options along the bottom of the page.
- Settings: change the selected microphone or camera.
- Share Screen: share a window or your desktop with other session participants.
- Stop/Start Video: turn your camera off or on (by default, the camera is on).
- Dashboard: minimize the video windows along the top to show your dashboard or the waiting room page.
- Leave: leave the session. (There is no confirmation message before you leave, but you can re-enter if you leave by accident.)
Session requires credit card payment
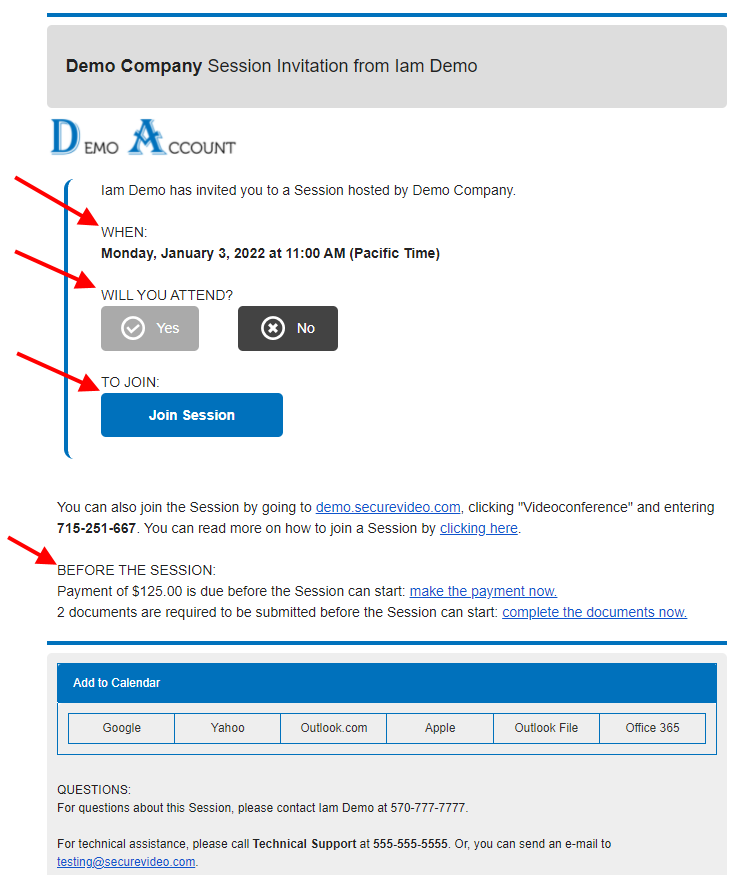
1. You, the session invitee, will receive an e-mail invitation that includes
- Time and date of the session
- Two RSVP options: Yes or No (will notify your host)
- Join Session link
- The amount that will be required to be paid by card before you enter the session
- If e-documents are assigned, the number of assigned e-documents
Or a text message:
2. At the time of your session, use Join Session button in the e-mail.
Or the link in the text message:
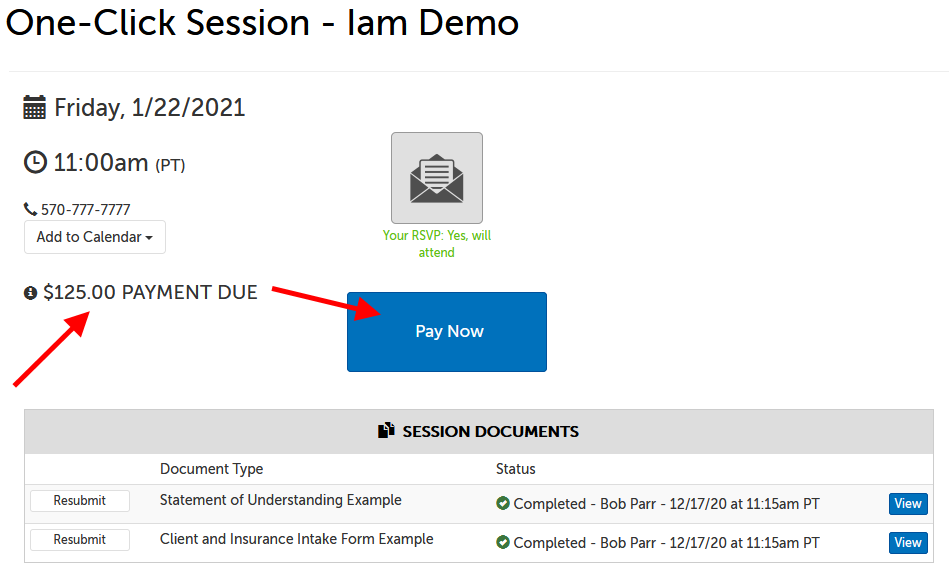
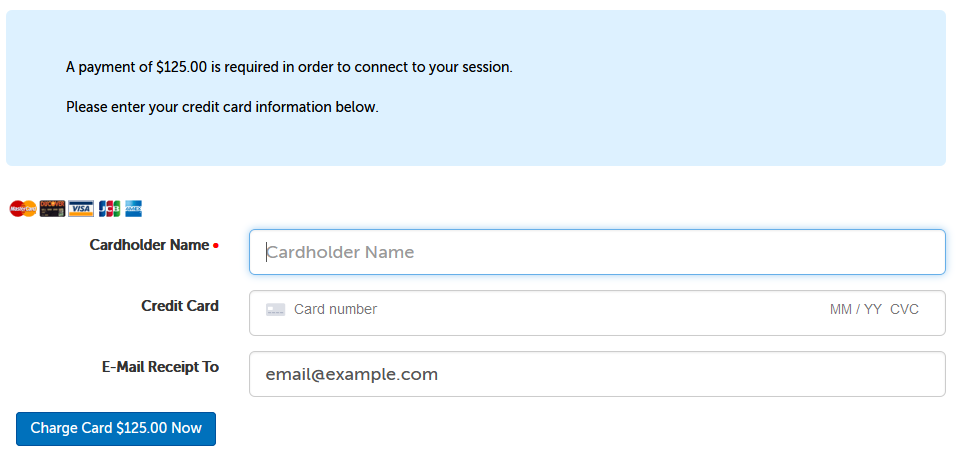
3. On the browser page that opens, click the "Pay" button.
4. You'll be taken to a page to enter your credit card information. The last field will allow you to enter an email address to receive your email receipt. (If you received an email invite, this field will be autopopulated with the email address the invite was sent to, but you can change this if you would like it to go to another address, or delete it if you would not like a receipt.)
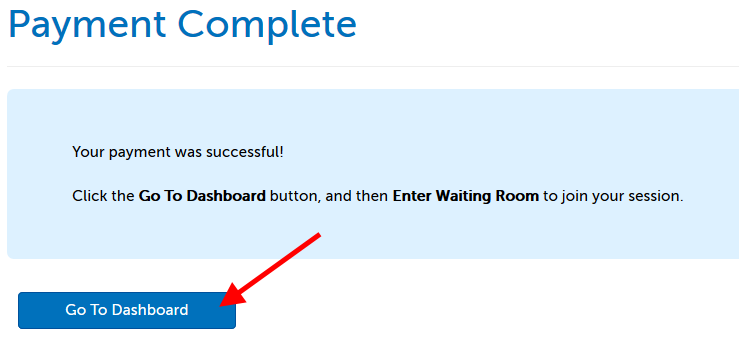
5. If the payment is successful, you will be taken to a confirmation page, "Payment Complete". Click on the "Go to Dashboard" button to continue.
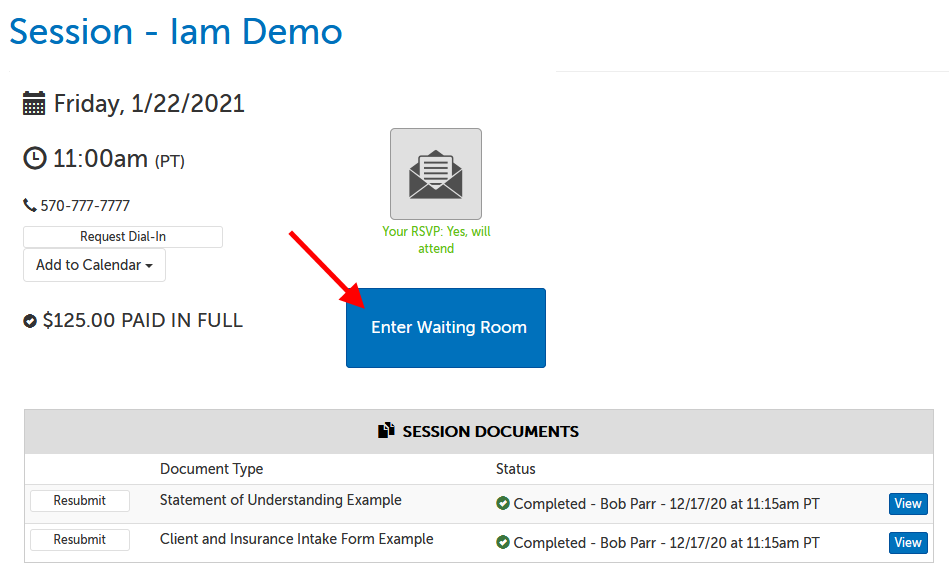
6. On the next page, click the "Enter Waiting Room" button.
7. If this will be the first time you are connecting (or you have not previously saved permission), you will be prompted to give permission for One-Click to access your camera and microphone.
Examples of permission prompts for
- Chrome
- Edge:
- Safari:
- Firefox:
8. Once successful, you will see yourself in the upper right hand corner, and may see a waiting message from your host. Please wait for them to join you, and do not leave this page.
You will see some options along the bottom of the page.
- Settings: change the selected microphone or camera.
- Share Screen: share a window or your desktop with other session participants.
- Stop/Start Video: turn your camera off or on (by default, the camera is on).
- Dashboard: minimize the video windows along the top to show your dashboard or the waiting room page.
- Leave: leave the session. (There is no confirmation message before you leave, but you can re-enter if you leave by accident.)
This article was last reviewed by our Support team on September 20, 2021.