E-Documents allow the patient to fill out a form while in the virtual waiting room, and electronically sign and/or submit it. Users with an Account Administrator or Clinical Supervisor role can create/edit as many templates as needed, and delete templates as well. Common uses for these E-Documents include Statements of Understanding and intake forms. For a good overview of this feature, please see the video recording of a webinar we hosted on e-documents.
This support article illustrates how your participants can sign an E-Document.
You may also be interested in:
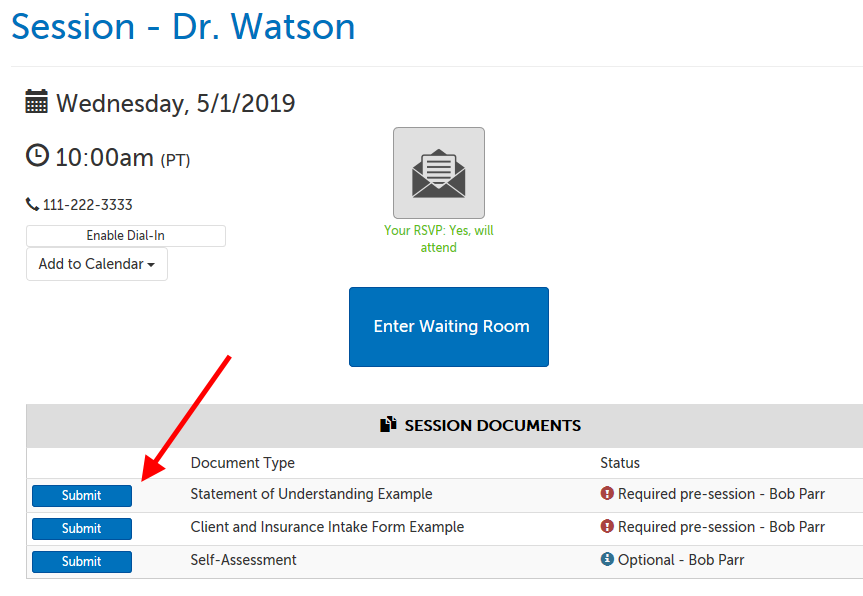
1. Underneath the "Enter Waiting room" button will be a list of the documents available for signing. There are 3 possible statuses (managed through a custom e-documents packet):
- Required pre-session: this document is required to be filled out and signed before the participant can enter the waiting room. If the participant clicks "Enter Waiting Room" with at least 1 required document not submitted yet, the video app will not launch; the participant will instead be redirected to the signing page.
- Optional: The document is available to be viewed/signed by the participant, but is not required.
- Required post-session: the participant will be redirected to this document after launching the video app.
Click on the "Submit" button to go that document.
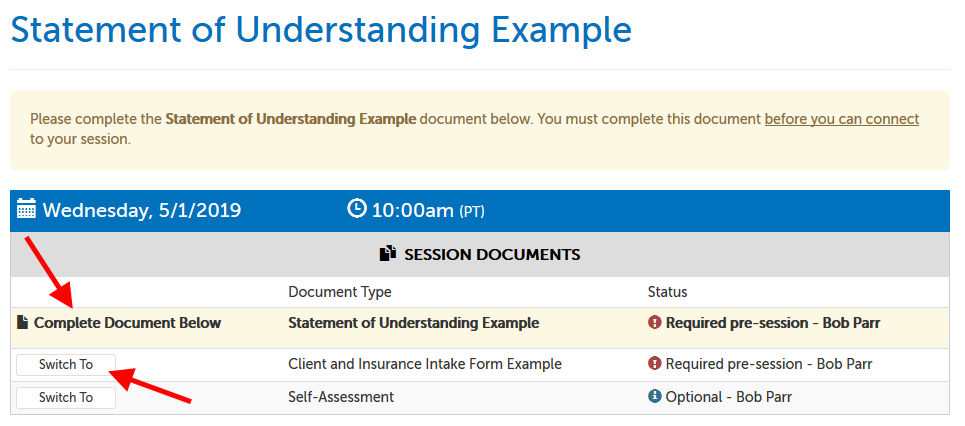
2. In the document signing section, you'll see the name of the document you're currently on at the top of the page; this will also be indicated by "Complete Document Below" next to the name of the document you're currently on.
- You can use the "Switch To" button to move to a different document BUT if you have made any changes to the form, they will be LOST if you move on before submitting the document.
- The name of each document is listed in the column "Document Type", and the status of each document is listed in the column called "Status".
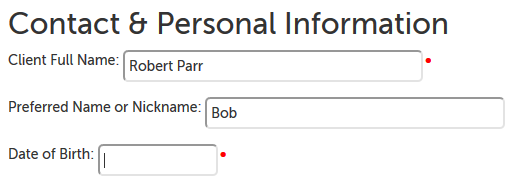
3. Within each document, please read the document contents and fill out any fields necessary.
- If a field has a red dot next to it, it is a required field. You will not be able to submit the document until those questions are answered.
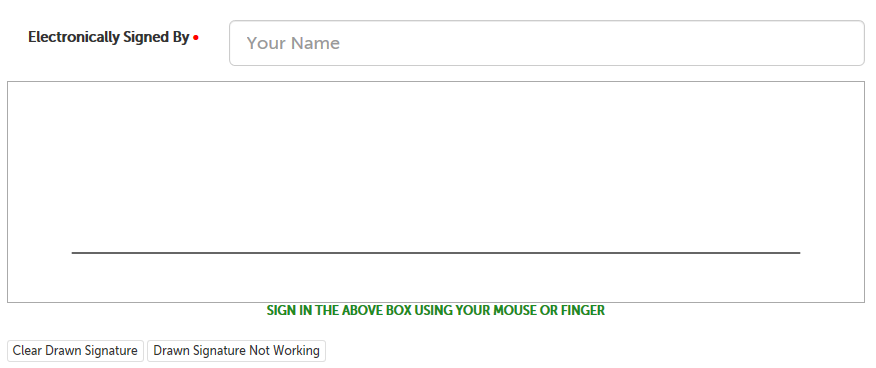
4a. Once you have read/filled out the document, enter your name at the bottom of the page.
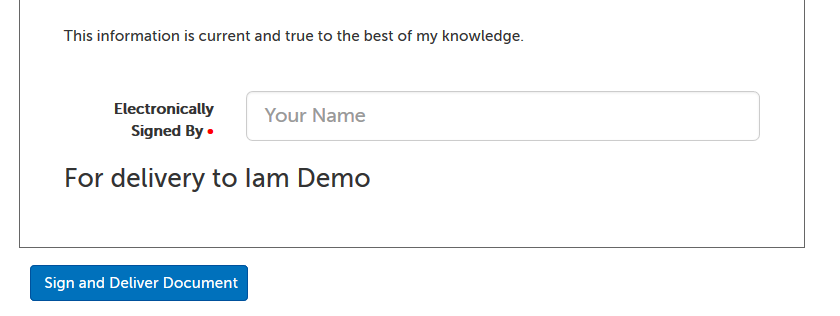
4b. If enabled by your host, you may see a box to create a line signature using your mouse cursor or finger in addition to a box where you type your name. (Your typed name is still required.)
- Clear Drawn Signature: Click this button to clear what you've drawn and re-do.
- Drawn Signature Not Working: If the signature field is not working with your device, you can dismiss the drawn image field.
5. Click the "Submit Document" button in the lower left-hand corner to send the document to your session host. (They will receive an e-mail alert as soon as this is done.)

- Clicking "Reload" will refresh the page; you will lose any changes you have made to the current document.
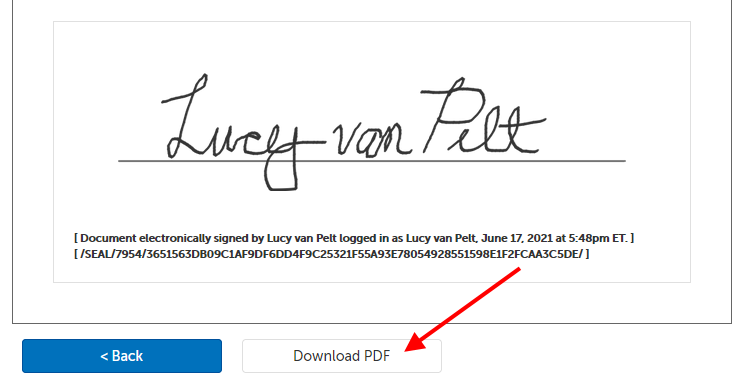
- If you'd like to keep a copy of what you've submitted, you can use the "Download PDF" button at the bottom of the next page (the one that you'll see after clicking "Submit Document").
- Once all required documents are complete, you will be returned to the Waiting Room page where you'll also have the opportunity to download any submitted document(s), as well as documents that do not require input.

6. If you have multiple documents required pre-session, you will automatically be directed to the next required document when you submit one, until you no longer have required documents; then you will be redirected back to the waiting room page, where you can click "Enter Waiting Room" to join the video session.
This article was last reviewed by our Support team on May 8, 2024.